Friday, December 24, 2010

Merry Christmas to all!

I have been busy for the past three days playing Betty Crocker!  I love to bake and make candy and that is one of my favorite things about this time of year.  This year I made:  peanut brittle, english toffee, chewy molasses spice cookies, shortbread, butterscotch confetti, noodle stacks, macaroons, yum yums, and caramels.  Phew!  Thankfully my daughters were a really big help to me this year.  Usually by the time I am done with all the baking I couldn't care less about how they're packaged up, but my Cricut came to the rescue!  It's just so easy to make something cute, so how could I resist?  I did the cutting, my daughter did the assembling and voila!


Cricut Cartridge:  Wild Card
Paper:  American Crafts MerryMint
Ribbon:  American Crafts

Merry Christmas!

Sunday, December 19, 2010

MPS Christmas Challenge

Every spare minute that I have right now is spent making cards that I will be giving as Christmas presents (shhh, don't tell anybody!).  But when I saw that Robyn at My Pink Stamper had posted another challenge, how could I resist?  Especially since I gave myself a bit of a challenge, and that was to make a Christmas card based around this ribbon that I found at the American Crafts warehouse sale.  It is called Candy Cane #2, and it has white, blue, red, pink and green in it.  Here's what I came up with:


Cricut Cartridge:  Winter Frolic (peppermint border) and Simply Charmed (candy cane)
Embossing:  Cuttlebug
Stamp:  Stampin' Up!
Ribbon:  American Crafts Candy Cane #2
Cardstock:  AC Cardstock

Tuesday, December 14, 2010

MPS Color Challenge - Pink, Blue and Black

Come and celebrate the 12 Days of Christmas - My Pink Stamper style!  Today, Robyn has posted a challenge that was so fun for me.  The challenge:  to use two shades of pink, two shades of blue, and black in a project.  I had no idea how I was going to do this until I remembered the adorable penguins on the Simply Charmed cartridge.  I have also been wanting to use my snowflake cartridge, and this gave the perfect opportunity!


Cartridges:  Simply Charmed, When It's Cold Outside
Embossing:  Cuttlebug
Stamps:  Close to my Heart
Punches:  Fiskars, and Martha Stewart
Cardstock:  Core-dinations, DCWV, AC Cardstock, Stampin' Up!

Monday, December 13, 2010

"Deck the Halls" with a Fantabulous Cricut Crawl!

Welcome to Divine Domesticity and the third Fantabulous Cricut Crawl...Fantabulous Cricut's version of a blog hop!  I'm so glad that you decided to join in the holiday fun with us!

In honor of this joyous season we're having a "Deck the Halls" Crawl in which each Design Team member will be showcasing a Christmas or holiday themed home decor project - all made using a Cricut of coarse!  I'm the first stop on the crawl, and I'm so glad that you have found your way here.

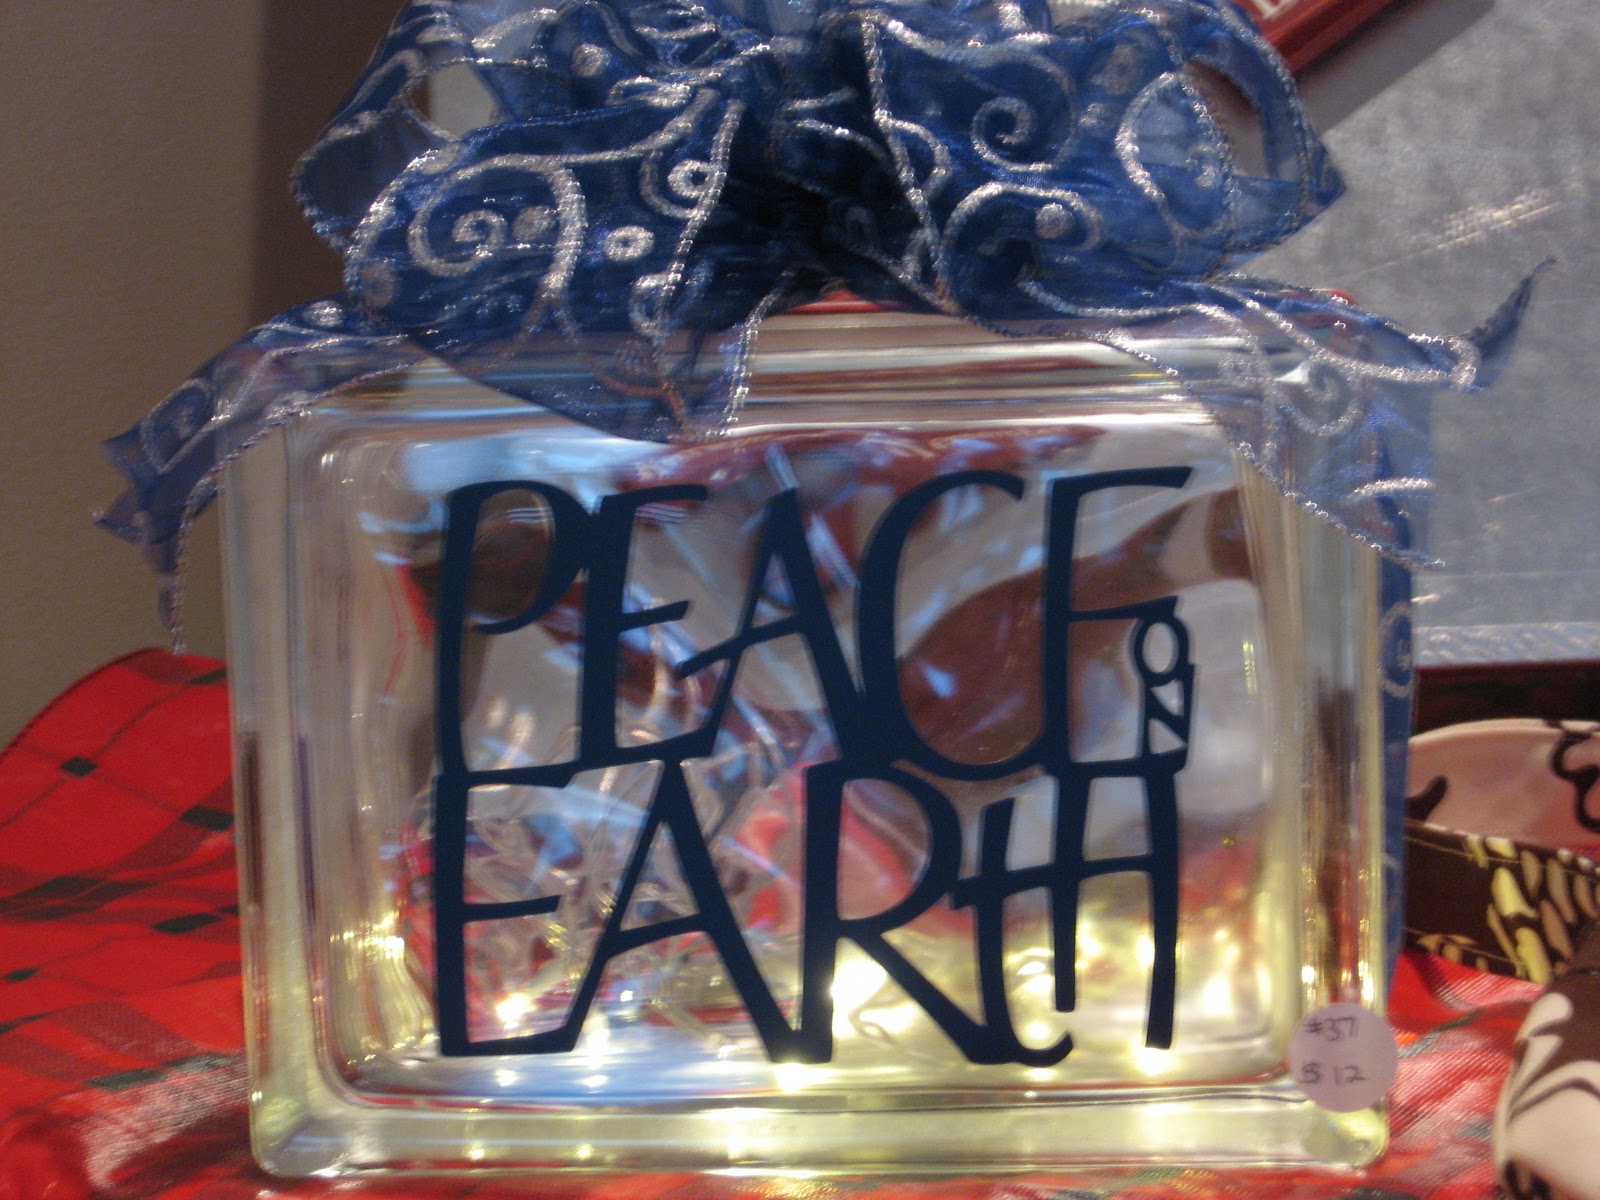
I have been using these glass blocks for about 3-4 years now, but this is the first year that I have been able to decorate one using a Cricut!  I have to say, it's so much easier!  If you are looking for a quick and easy project with maximum "ooohh, aaahhh" factor, this is the project for you.  I made these for a boutique that I participated in recently - hence the price tags.  Incidentally, don't mind the price.  I know, I know - I was practically giving them away.  I was mostly looking to use up some supplies that I had on hand.

I bought these blocks at Home Depot and my husband was good enough to drill the hole in the back so I could put the Christmas lights in.  In order to do that you have to have a diamond tip drill bit, and quite honestly, it's a bit of a pain.  Thankfully, a lot of craft stores sell these blocks with the holes already in them, and some even with slits in them so you can use the blocks as a piggy bank.  Isn't that a good idea?  I might have to try that...


Cricut Cartridge:  
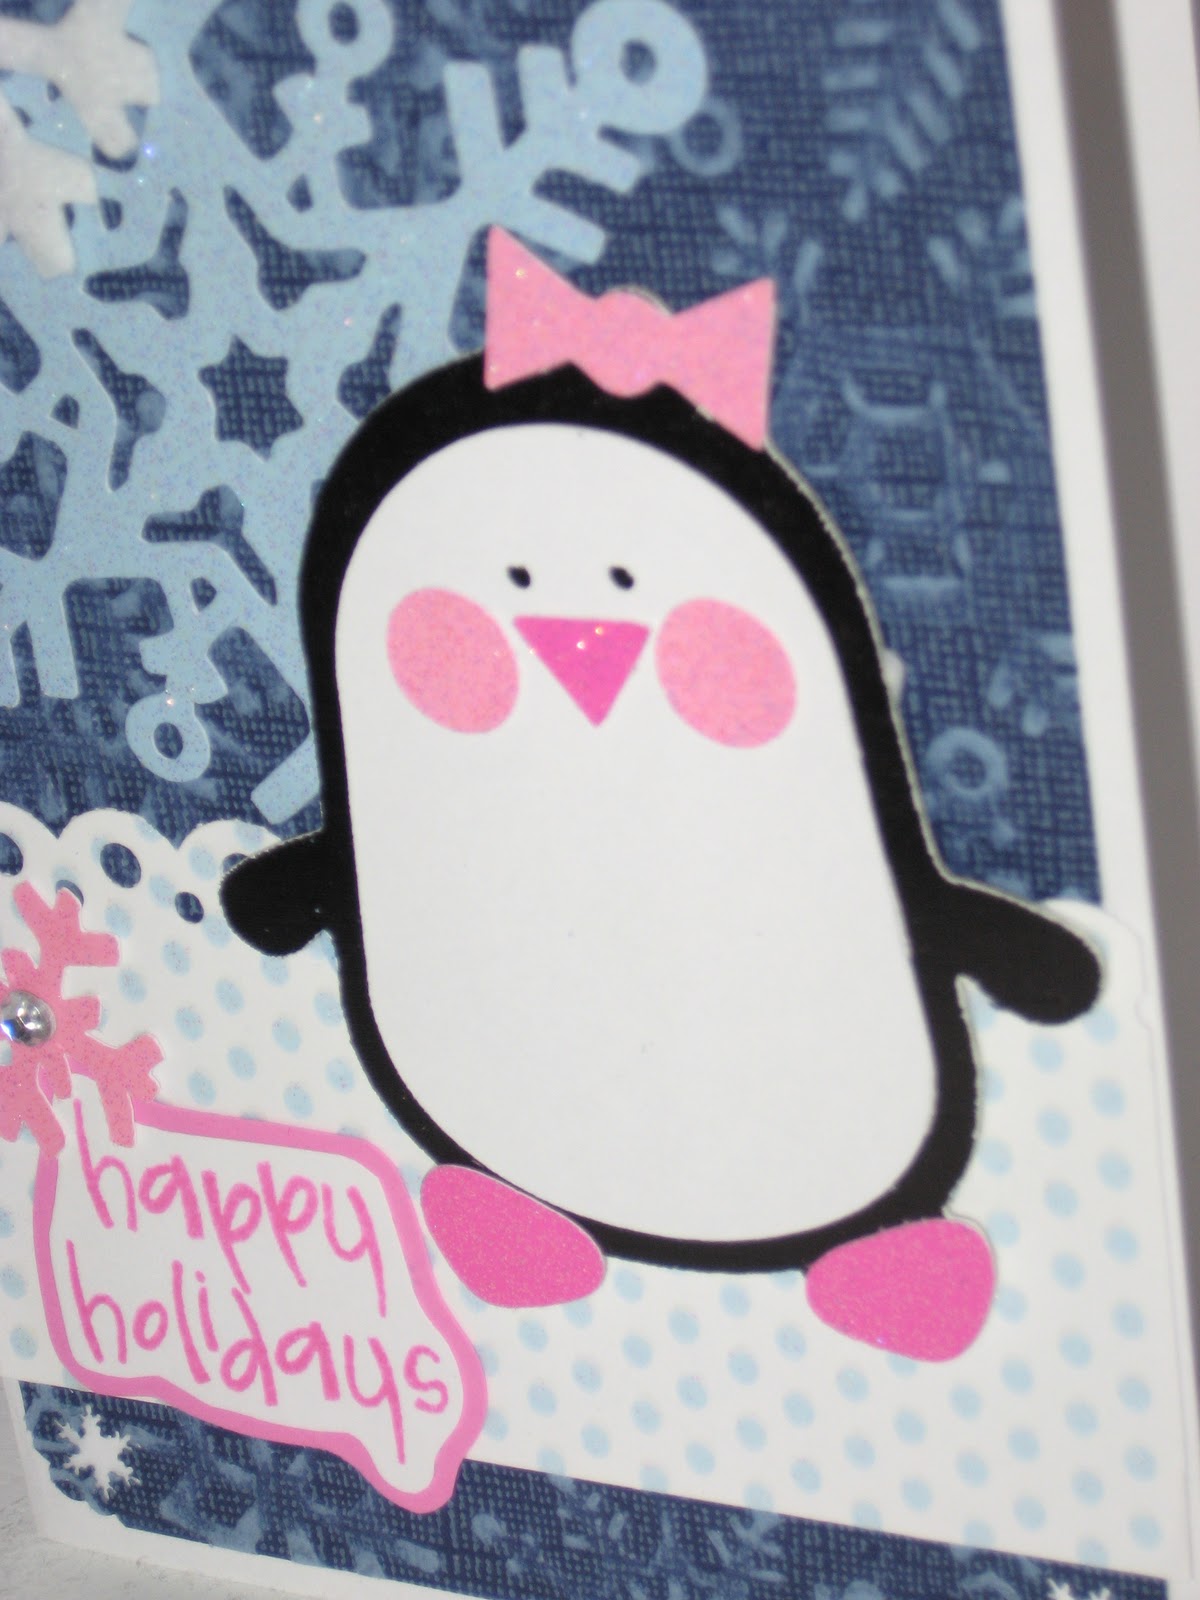
Create a Critter (Peace), Beyond Birthdays (Peace on Earth), Winter Frolic (Merry & Bright and Frosty)
Ribbon:  Costco
Battery operated LED lights:  IKEA (go after Christmas and stock up when they're 75% off)
Vinyl:  Roberts Crafts


And now it's your turn.  We would love to see your Christmas/holiday themed home decor projects that you have made using your Cricut.  And when you're done, make sure to link up your project to FCCB's Fantabulous Cricut Crawl post to be entered into the contest!

If you just happened upon my blog today - welcome!  If you would like to join in with the Fantabulous Cricut Crawl, you can here.  Make sure to check out each DT member's blog for some awesome inspiration!  Some DT members will have PRIZES along the way, AND there will be a Grand Prize up for grabs at FCCB for one participant that submits a "Deck The Halls" project at FCCB!

The next step on the crawl is Angela at Simple Creations Paper Crafts!

Friday, December 10, 2010

OH MY! It's an "Oh My Crafts" Warehouse Sale!

This could be bad.

This could be VERY bad!

I stumbled across this ad completely by accident, but I'm glad I did!  For those of you who are in Utah, here's another warehouse sale that is going on tomorrow only.  I've never been to this one before so I can't say whether it's very good or not.  But I can say that they sell some great products.

I'll let you know if I get there!

I know the ad is a little hard to read, so here's the ad in print:

Join us for a day of amazing savings, FREE crop party, giveaways and more!

Oh My Crafts BIG WAREHOUSE SALE!

Saturday, December 11th from 10am to 4pm.

1499 West 105 North Orem, Utah 84057 (Just off of Center Street in Orem, head West and turn right after Standard Plumbing Supply Co.)

We carry CRICUT, SIZZIX, CUTTLEBUG, GYPSY, BASICGREY, DOODLEBUG, WE R MEMORY KEEPERS, QUICKUTZ, GRAPHIC 45, BAZZILL BASICS, VINYL, IMAGINISCE, CRICUT CARTRIDGES, YOURSTORY and more!

Get your holiday gifts at discount prices!


Wednesday, December 8, 2010

MPS - Birthday Challenge

This was just the challenge I needed because so many members of my family have asked for packs of homemade cards for Christmas.  That I can definitely do, but I was in need of a few new designs in the mix.  I couldn't resist this piece of pizza from the Simply Charmed cartridge.


Cricut Cartridge:  Simply Charmed
Paper:  DCWV, American Crafts, Stampin' Up!
Stamp:  Stampendous
Punch:  Fiskars Apron Lace
Buttons:  DCWV, and other random button  ;-)

Tuesday, December 7, 2010

American Crafts Quick and Easy Christmas Card

Well, I'm not sure how quick and easy this was...

It would be quick and easy to reproduce, but the fun (and time) is in the design process, isn't it?  Ever since I got the Winter Frolic cartridge I have been dying to make a gingerbread card.  As many of you know I was lucky enough to go to the American Crafts warehouse sale last week.  Well, I totally scored on some great cardstock, ribbon, adhesive, and really cute Christmas paper - some of which had little gingerbread men in the background!

I also discovered the American Crafts Blog last week.  And low and behold, they're having a Quick and Easy Christmas Cards Challenge this week.


I made this card using a number of great American Crafts products:
  • AC Cardstock
  • AC Patterned Paper in Jolly and Merry Mint
  • American Crafts Galaxy Marker in White
  • American Crafts Elements Premium Ribbon in Gingerbread #1 and Ginberbread #6 (how appropriate?)
  • American Crafts "This to That" adhesive

Monday, December 6, 2010

FCCB Challenge #39 - Gifts Galore

I have been making these journal/stationary sets for years, but this is the first year that I've been able to use my Cricut to make them!  They are so fun to make, and a great way of using your "stacks" that already have paper that is meant to coordinate.  And when you wrap them up in cellophane they look so pretty!

There are 5 items in this gift set:
  • A journal, which is an embellished composition book.  I always stock up on these when you can get them for $.25 at back to school time.
  • A 2 year calendar/planner - I usually buy these at Michaels, and I think they usually are available starting in September  - sometimes in the dollar section, sometimes they have a separate "calendar" section.  You need the ones with the clear covers that you can slip off. 
  • An embellished notepad.  I try to pick these up at a dollar store.
  • An embellished Pentel R.S.V.P. pen
  • A bookmark - which is basically an embellished paper clip.  In the past I have used the enormous, long paper clips but they are getting harder to find and are expensive.  So this year I switched to these cool round ones that I found at Office Depot.
 The trick to making these is you have to have the right glue.  For the embellished notepad you pretty much have to have the Glue Lines or Terrifically Tacky Tape (narrow) to keep your cardstock in place.  For the journals, I have used an assortment of liquid glues like Tombo, Scotch, Martha Stewart's gel adhesive, or even contact cement.  You can't use Monoadhesive or a glue stick - it just won't cut it.  Of coarse with the liquid glue you have to make sure that you don't have too much or it's going to cause your paper to ripple.

If you would like more specific instructions, just leave a comment with your email address.  Don't forget to spell it out using "at" and "dot" instead of "@" and "." so you don't have to worry about people you don't want using your email address.  We'd love to see you over at the Fantabulous Cricut Challenge blog for this week's challenge!

Cricut Cartridge:  Sweet Treats
Cardstock:  DCWV, AC Cardstock


I have had a number of people ask for more detailed instructions, so here they are:

Directions for Embellished Composition Book


The directions are going to vary somewhat depending on what brand of composition books you get.  I always get the ones at Wal-Mart.

Spine:  9 ¾ x 5
Front upper right:  5 ½ x 4 ¼
Front lower right:  5 ½ x 5 ½
Front long strip (next to spine):  9 ¾ x 5/8
Front short strip:  5 ¾ x 3/8”  except if you’re planning on using a punch, then you’ll want it wider.  I started at 1” and then trimmed to my liking.
Back:  9 ¾ x 5 ½

Here are some more suggestions:
  • use good quality cardstock because the liquid glue will soak through the lighter weight stuff far too easily, EXCEPT…
  • It is easiest to use paper on the spine.  Cardstock can be a little tricky to wrap around the front and back of the spine.  It can be done – what I do is rub the cardstock width-wise along a sharp edge (like a counter-top), and that helps create a curve that you can ease around the book.
  • Remember, these dimensions may vary slightly depending on the size of your composition book
The notepads and calendars vary a little too much in size to give measurements there.  Just remember, measure twice, cut once!

Friday, December 3, 2010

Check out this fabulous giveaway!

There is a fabulous giveaway going on at the Roberts Crafts blog - over $450 in DCWV products.  Check it out here.

Related Posts Plugin for WordPress, Blogger...